How to Get the Right TikTok Aspect Ratio (2026 Workflow)
A step by step 2026 workflow to film, edit, and export in the correct TikTok aspect ratio without an editor, plus AI tools that auto format every ratio.
Article Highlights
- Set the right TikTok aspect ratio at capture
- Film in 9:16 on iPhone and Android
- Edit vertical in CapCut, InShot, or VN
- Export specs that beat TikTok re encoding
- Fix the 6 most common aspect ratio mistakes
- Argil auto renders every aspect ratio for you
How to Get the Right TikTok Aspect Ratio (2026 Workflow)
Getting the TikTok aspect ratio right decides whether your post fills the whole screen or sits inside black bars looking soft and cropped. The fix is easier than most creators expect, and it starts before you press record. This guide takes you from camera setup through final export in 4 steps, then shows the AI shortcut for anyone posting daily.
Why aspect ratio matters before you press record
The reason to care is simple. Shoot horizontally and re crop to vertical later and you lose roughly 30 to 40 percent of your subject framing, plus you invite the re render artefacts that the algorithm reads as low quality.
Setting the right ratio at capture is the single biggest reach lever a solo creator can pull. It matters more than your caption style or your hook timing, because it decides whether the video fills the screen at all. Vertical video shows up to 80 to 100 percent higher completion rates on mobile than horizontal video (Wyzowl, 2026), and completion rate is exactly what feeds distribution.
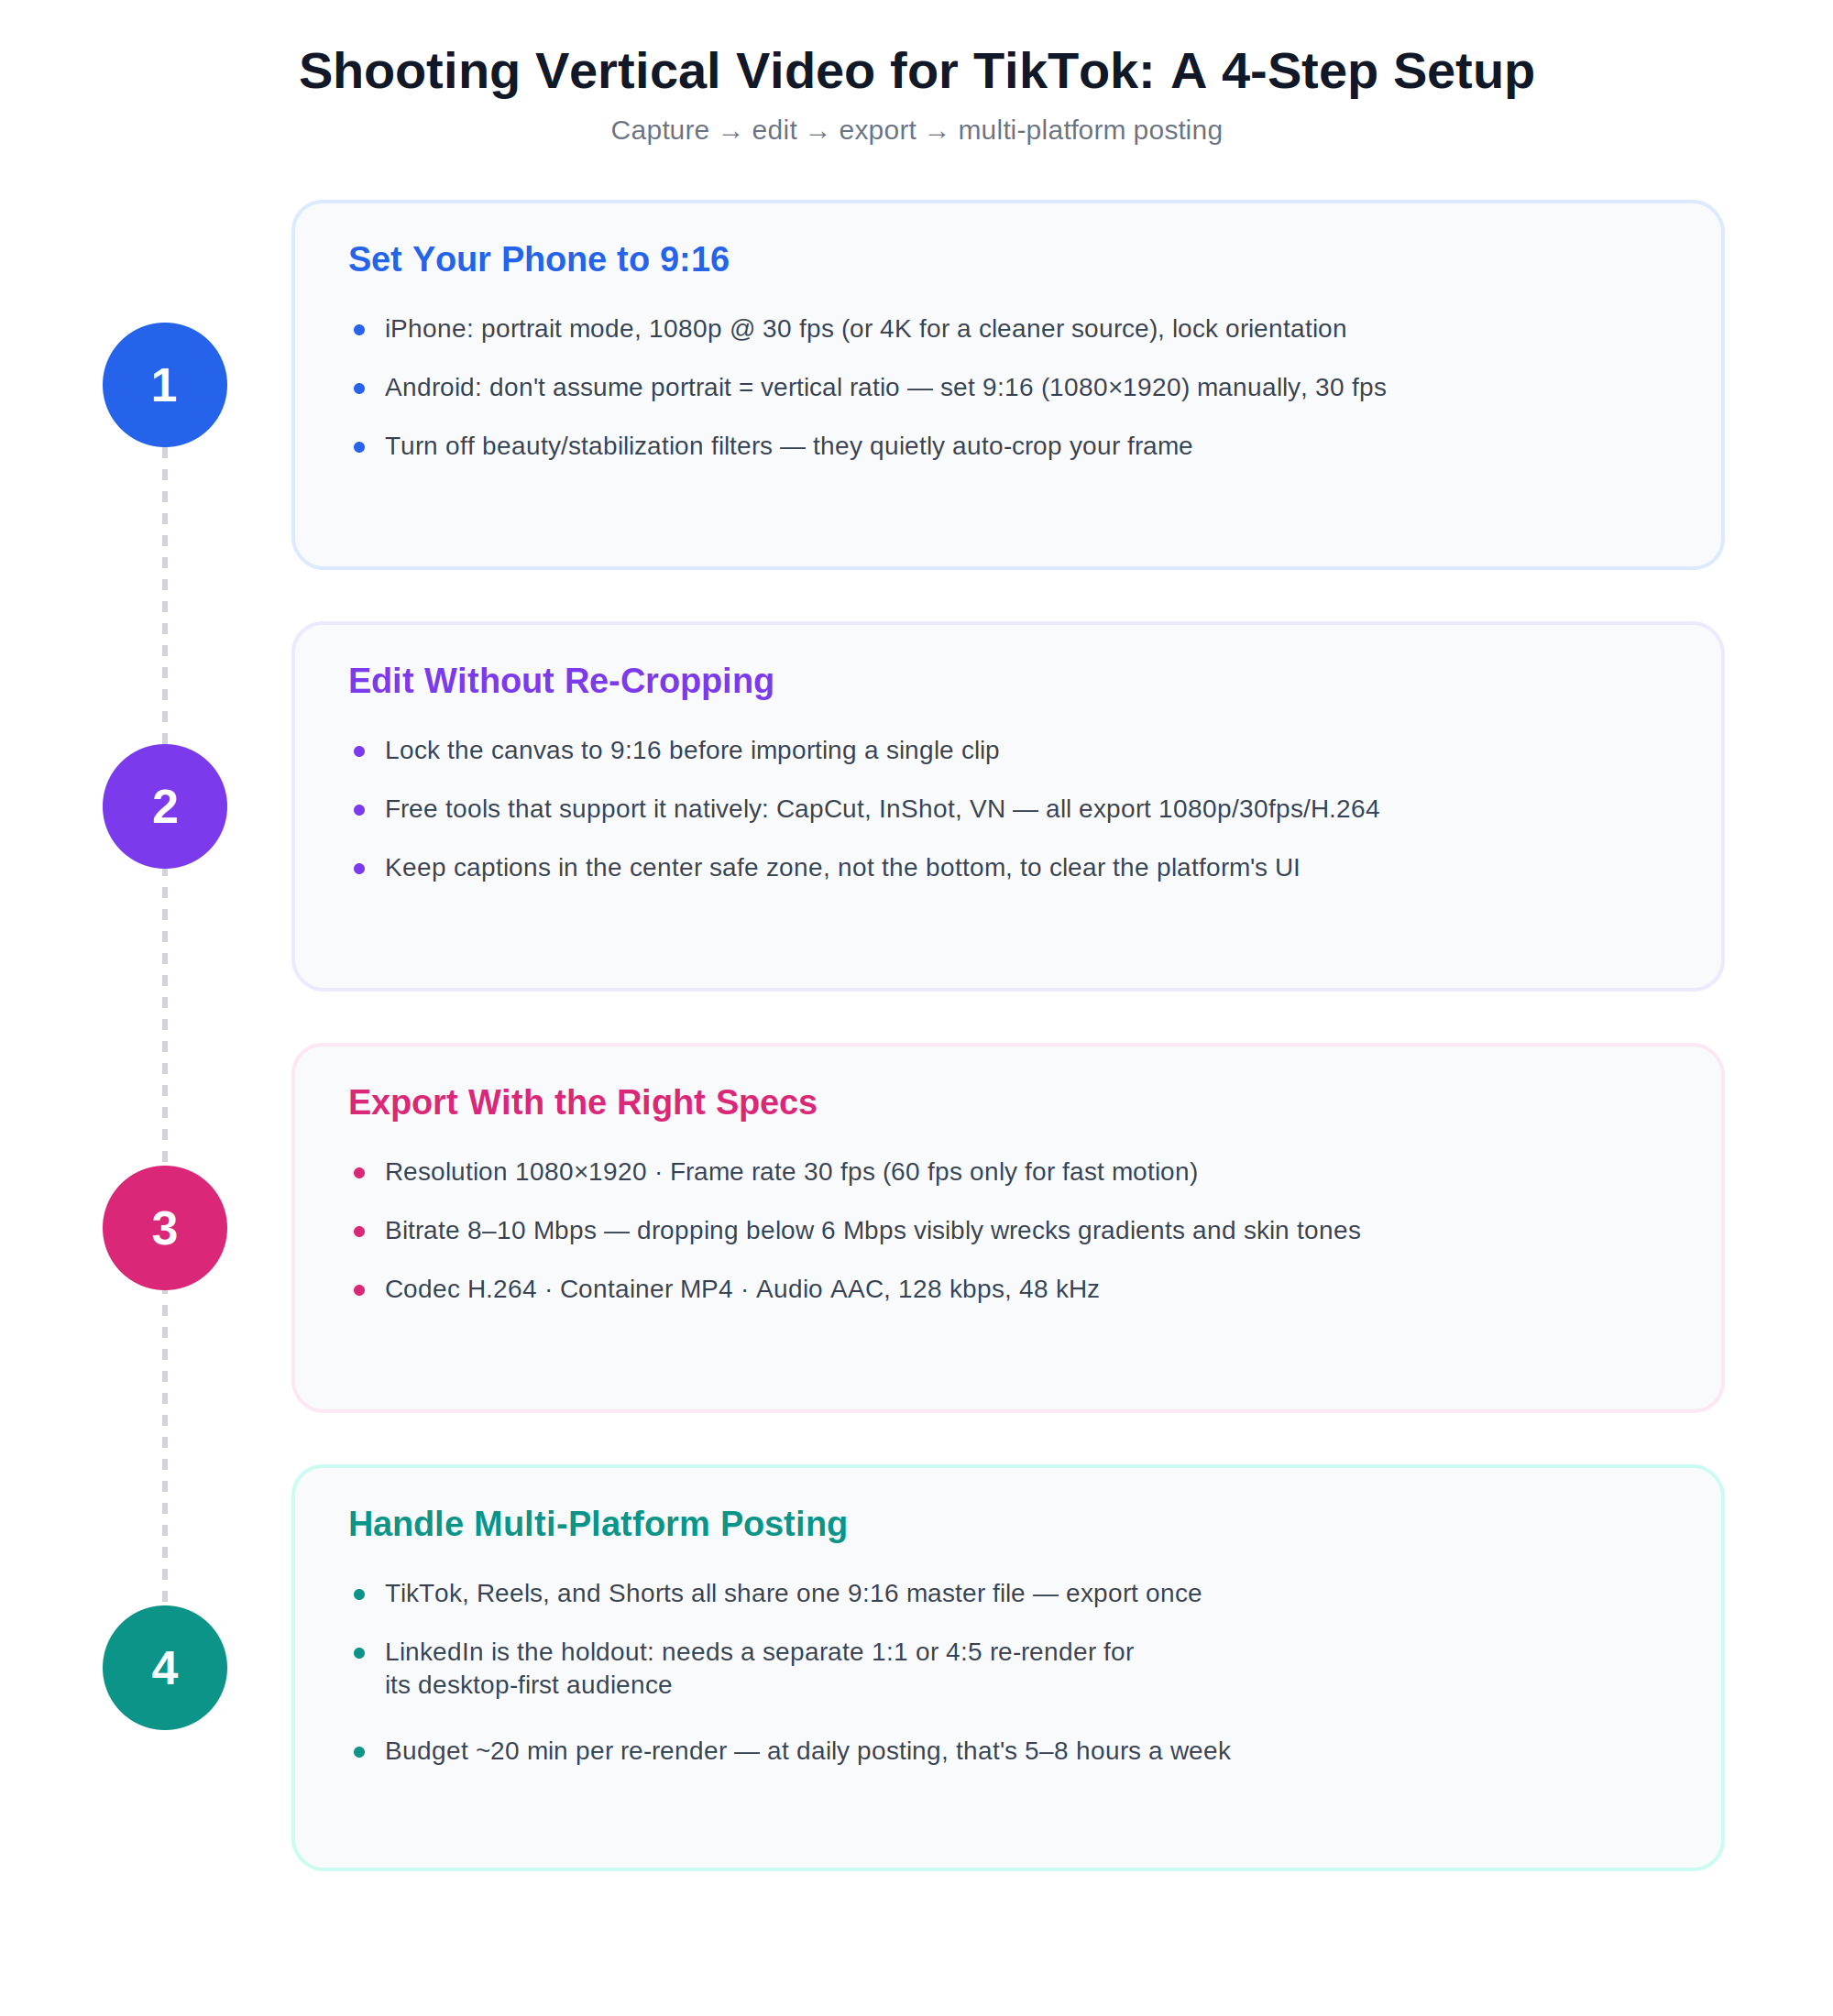
A quick look at all the steps. Image generated using Claude ai.
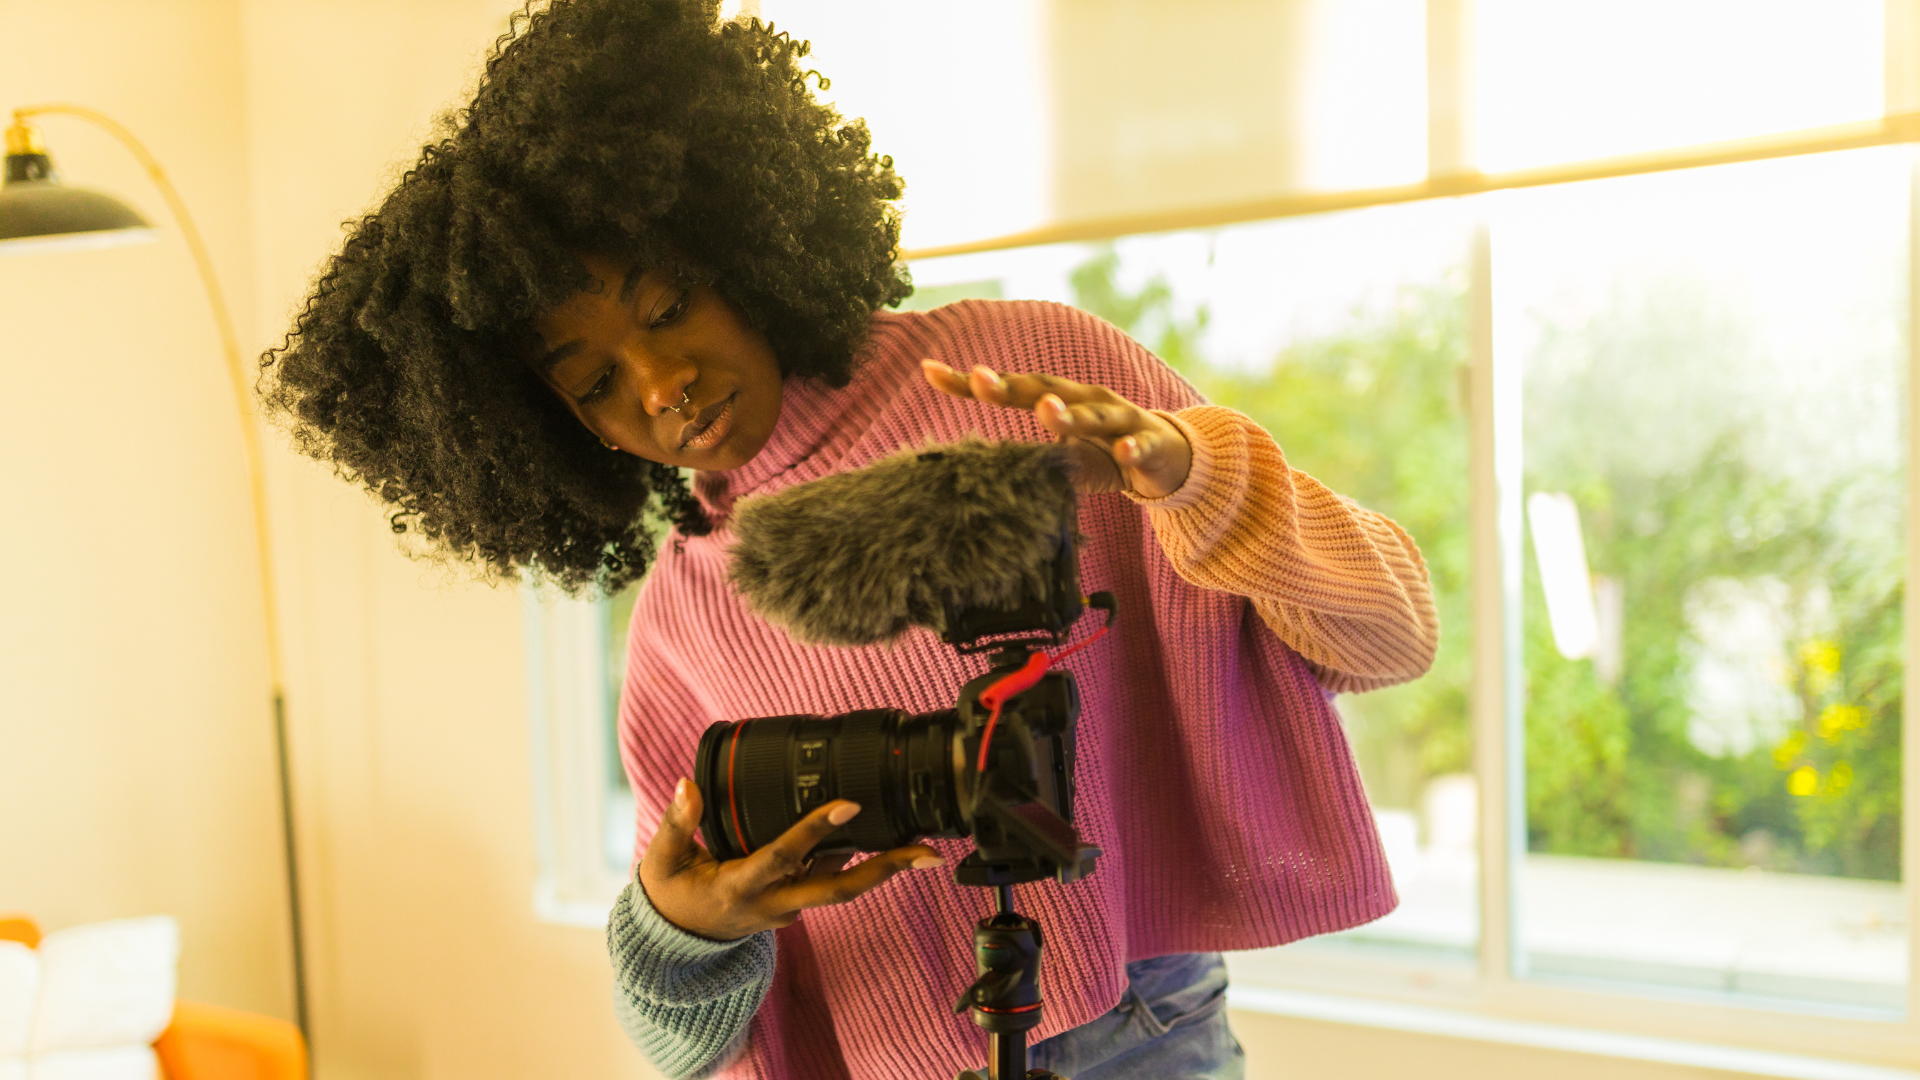
Step 1: set your phone or camera to 9:16
The fix happens at capture. Once your footage is already vertical, every step after this gets easier because there is nothing to salvage in post.
iPhone setup
- Open the Camera app and switch to Video mode.
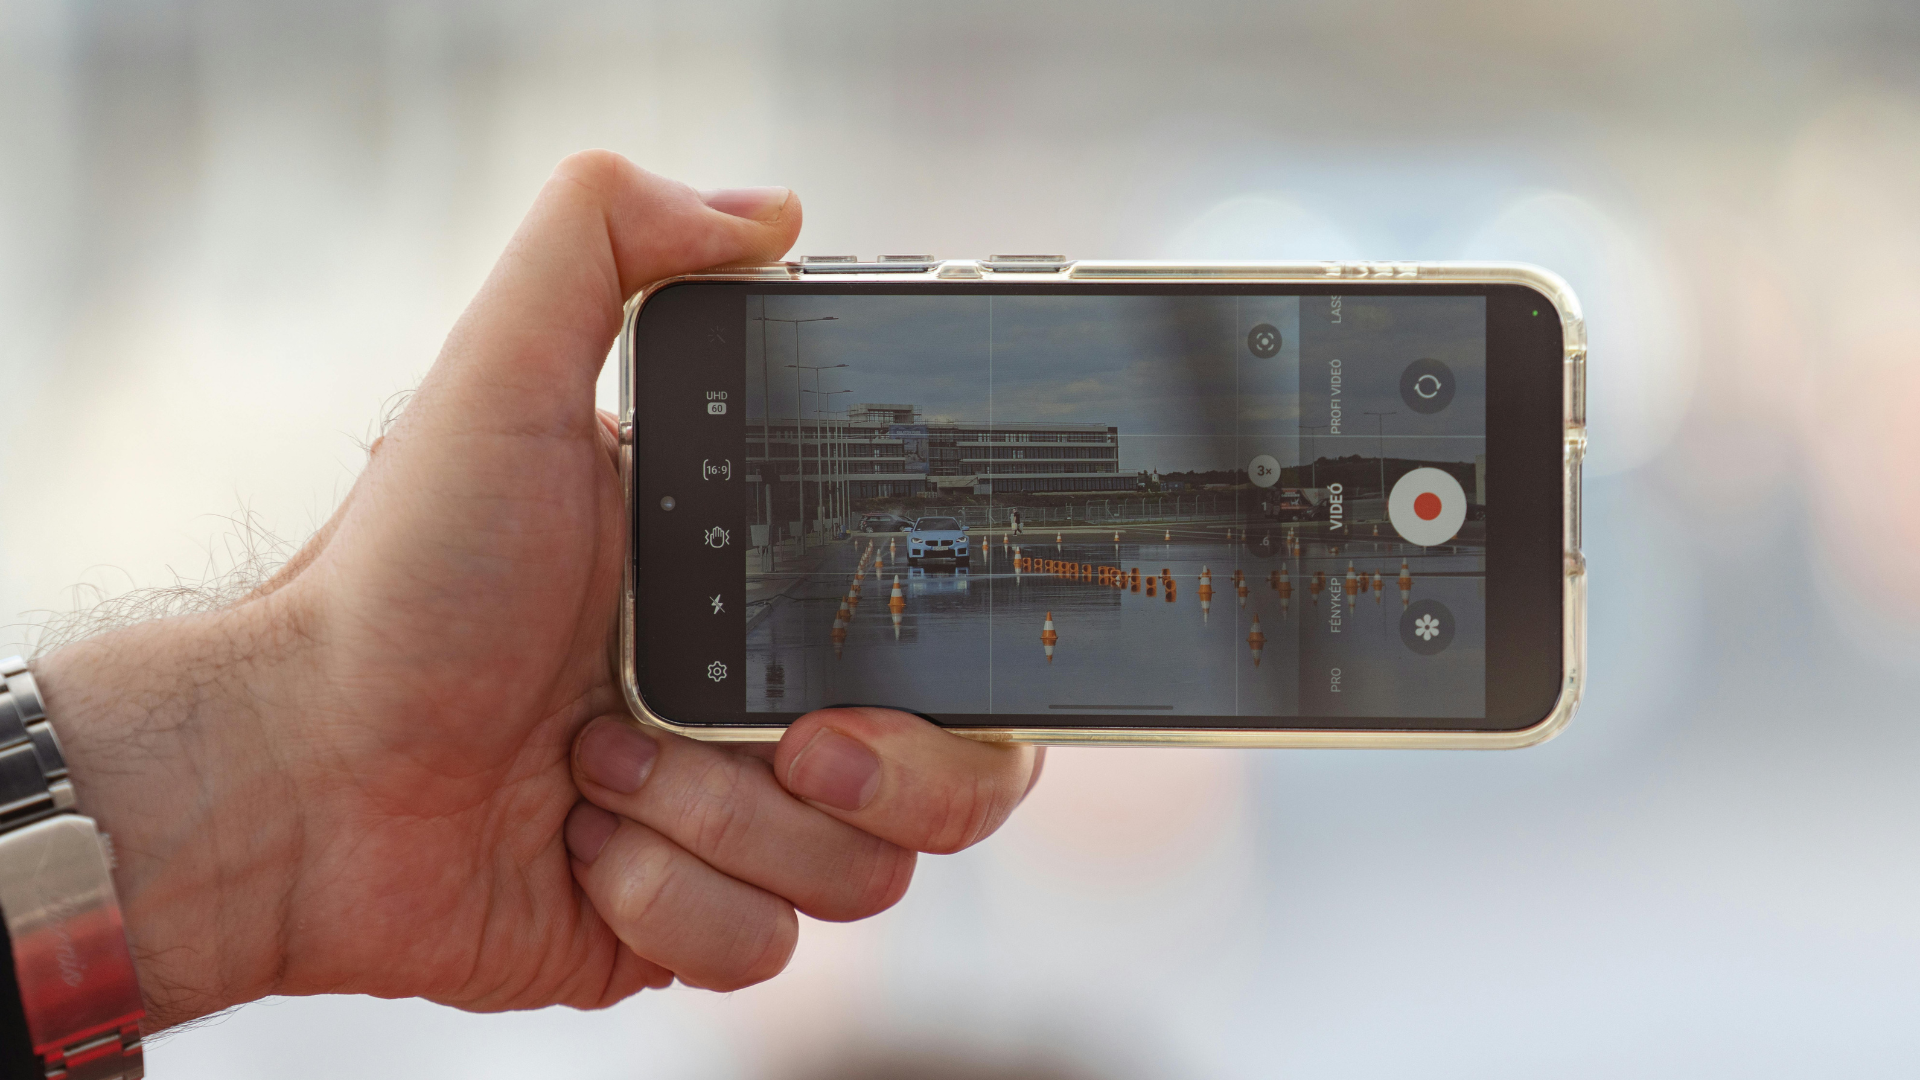
- Hold the phone vertically in portrait. The iPhone records 9:16 by default in this orientation.
- Tap the resolution toggle in the top right corner and set it to 1080p HD at 30 fps, which matches TikTok's recommended specs exactly.
- For sharper source footage, switch to 4K 30 fps. TikTok will downscale on upload, but the higher resolution gives you cleaner frames to edit from.
- Lock orientation. Swipe down from the top right corner and tap the lock icon so the camera does not flip to landscape mid shot.
Android setup
- Open the camera app and switch to Video mode.
- Hold the phone vertically. Many Android phones default to 16:9 even in portrait, so do not assume vertical orientation gives you a vertical ratio.
- Open camera settings using the gear icon and find Video resolution. Set it to 9:16 (FHD) or 1080x1920.
- Set the frame rate to 30 fps for the best balance of file size and smoothness.
- Disable any beauty or stabilization filters that auto crop the frame. They quietly reduce your usable resolution.
Step 2: edit in free tools without re cropping
The wrong workflow re crops 16:9 footage to 9:16 in post and throws away your framing. The right workflow keeps everything vertical from import to export. Here are 3 free editors that do it, each broken down step by step.
CapCut workflow
- Open CapCut and tap New Project, then select your vertical clip from the camera roll.
- Tap Aspect Ratio in the toolbar and choose 9:16. The canvas locks to vertical.
- Import every clip into the timeline. They should fill the canvas with no black bars. If a clip shows bars, it was shot in the wrong ratio, so drop it or re record.
- Add captions with CapCut's auto caption feature, and position them toward the center of the frame rather than the bottom so they clear TikTok's UI overlay.
- Skip the 1080p Standard export preset. Use 1080p with the H.264 codec at 30 fps for the fastest, cleanest TikTok upload.
One thing worth knowing before you commit to CapCut: the app has faced an on again, off again ban in the US, so it is worth keeping a backup editor installed.
InShot workflow
- Open InShot, tap Video, then tap New.
- Select your vertical clips. InShot defaults to a 1:1 canvas, so tap Canvas and select 9:16 right away.
- Use the Adjust tool to scale clips so they fill the canvas with no black bars. InShot labels this Fit to canvas.
- Place captions inside the central safe zone, roughly between 150 pixels from the top and 350 pixels from the bottom.
- Export at 1080p, 30 fps. The free tier adds a watermark that TikTok's algorithm down ranks, so use the watermark removal option even on the free plan.
VN Video Editor workflow
- Open VN and tap the plus icon to start a project.
- Import your vertical clips. VN auto detects 9:16 when your first clip is vertical.
- Use the Ratio tool in the bottom toolbar to lock the canvas to 9:16 if auto detect did not catch it.
- VN's caption tool supports keyframe positioning, so you can pin captions to the center safe zone across the whole timeline.
- Export at 1080p, H.264, 30 fps. VN adds no watermark on its free plan, which makes it the strongest free option for TikTok specifically.
Whichever editor you pick, lock the canvas to 9:16 before you import a single clip. If you want the background on why a fixed ratio protects your framing, this breakdown of how aspect ratio behaves across vertical and horizontal video covers it.
Step 3: export with the right specs
Export settings are where good footage quietly goes soft. The file uploads, looks fine on your phone, then TikTok re encodes it and the quality drops. The specs below are checked against TikTok's published guidance (Fliki TikTok specs guide, 2026) and they sidestep that re encode penalty.
- Resolution: 1080x1920, which is 1080p vertical. Anything higher gets downscaled on upload and only wastes file size.
- Frame rate: 30 fps. Reserve 60 fps for genuine motion content like sports or dance, since higher frame rates inflate file size with no visible benefit at TikTok's display resolution.
- Bitrate: 8 to 10 Mbps for 1080p. Drop below 6 Mbps and TikTok's compression visibly wrecks gradients and skin tones.
- Codec: H.264. H.265, also called HEVC, sometimes uploads fine and sometimes fails without warning, so stick with H.264 for reliability.
- Container: MP4. MOV works but it is heavier and slower to upload.
- Audio: AAC at 128 kbps, 48 kHz.
Step 4: handle multi platform posting when one video needs 3 aspect ratios
Posting the same content to TikTok, Reels, Shorts, and LinkedIn means juggling ratios, and the manual version of that gets old fast.
TikTok, Reels, and Shorts all share the same 9:16 master file, so a single export uploads to all three. LinkedIn is the holdout. It wants a separate 1:1 (1080x1080) or 4:5 (1080x1350) export, because most LinkedIn viewing happens on desktop where 9:16 wastes screen space.
Re rendering manually in CapCut means duplicating the project, switching the canvas to 1:1, then rescaling and repositioning everything for the new safe zone before you export again. Budget around 20 minutes per video, and InShot and VN cost you the same. One piece of content shot in 9:16 plus a LinkedIn re render is two exports and two caption passes, and once you multiply that by daily posting it eats 5 to 8 hours a week. There are guides on distributing one video across every platform, but the manual math rarely changes.
The shortcut: AI video tools that auto format every aspect ratio
There is a cleaner path than four manual steps. You write a script, generate the video, and get the same content in every aspect ratio without ever opening an editor.
This is where Argil fits, for creators who would rather not spend their week in CapCut. You upload a 2 minute video of yourself once and it trains an AI clone from that footage. After that you type a script and it generates fully edited videos in 9:16 for TikTok, Reels, and Shorts, plus a 1:1 cut for LinkedIn, all from the same input.
The pipeline is built in. Captions, b roll, transitions, and aspect ratio variants all come out of the same render, so there is no re crop and no second editing pass. If you want to test a different hook or CTA, you change the script, regenerate, and post both versions the same day. The variants render in minutes rather than hours, which is what makes automating short form video realistic for a one person operation.
It fits daily posters best. A real estate agent posting listing breakdowns in vertical or an SMB founder running an authority play across several platforms gets every ratio from one script. Against the usual lineup of CapCut, InShot, VN, OpusClip and the rest, it is the one tool that produces both the source footage and the multi aspect ratio export from a single text input. The entry Classic plan runs $39 a month, less than a single freelance edit, and it removes the whole export and recrop loop.
Common mistakes and how to fix them
Every creator hits at least 2 of these in their first month of daily posting. Here is each failure mode with the fix.
- Shooting in 16:9 and planning to fix it in post. The fix is to re record in 9:16, since the crop loses around 40 percent of subject framing every time.
- Putting captions in the bottom 350 pixels, where TikTok's UI sits. Move them to the center of the frame using your editor's safe zone overlay.
- Exporting at 4K thinking it looks sharper. 1080p is TikTok's display ceiling, so 4K gets downscaled and the bitrate compresses harder, not softer.
- Choosing HEVC export because the file is smaller. Switch to H.264, because HEVC uploads fail silently in a meaningful share of cases.
- Posting the same 9:16 export straight to LinkedIn. Render a 1:1 or 4:5 cut for LinkedIn, or let an AI tool handle both ratios in one render.
- Importing in 9:16 then accidentally dragging the canvas to 1:1 mid edit. Lock the canvas ratio before you import footage, since most editors have a lock toggle for exactly this.
Frequently asked questions
What aspect ratio should I film TikToks in?
9:16, the same as your phone's vertical orientation. Set the camera to 1080p at 30 fps and hold the phone in portrait. This matches TikTok's native ratio exactly, with no re crop needed.
Can I post horizontal videos to TikTok?
You can, but the algorithm punishes them. Horizontal videos either display with black bars above and below or get auto cropped, and both outcomes drop completion rate and reach. Re shoot vertical whenever you can.
What is the best free editor for TikTok aspect ratio?
VN Video Editor has the strongest free tier because it adds no watermark and supports a 9:16 lock with caption keyframing. CapCut is more popular, but its free tier adds a watermark that TikTok's algorithm down ranks. InShot sits between the two.
Do I need to re export for Reels and Shorts?
No. TikTok, Instagram Reels, and YouTube Shorts all use 9:16 at 1080x1920, so a single export uploads to all 3 cleanly. LinkedIn is the exception and needs a separate 1:1 export.
How do I avoid TikTok cropping my captions?
Keep captions inside the central safe zone, roughly 880x1420 pixels in the middle of a 1080x1920 frame. Avoid the top 150 pixels, the bottom 350 pixels, and the right 100 pixels. Every major editor has a safe zone overlay you can toggle on.
Is there a way to skip the export and re crop loop entirely?
Yes. AI video tools like Argil generate fully edited videos from a written script and output multiple aspect ratios from one render. Upload a 2 minute video once to create your AI clone, then type scripts to produce daily videos without filming, editing, or re cropping.
Related Articles
- How to use an AI TikTok video generator as a creator
- How to repurpose blog content into short form videos
- YouTube Shorts vs TikTok: dominating both platforms
The complete 2026 TikTok aspect ratio workflow from camera setup to export